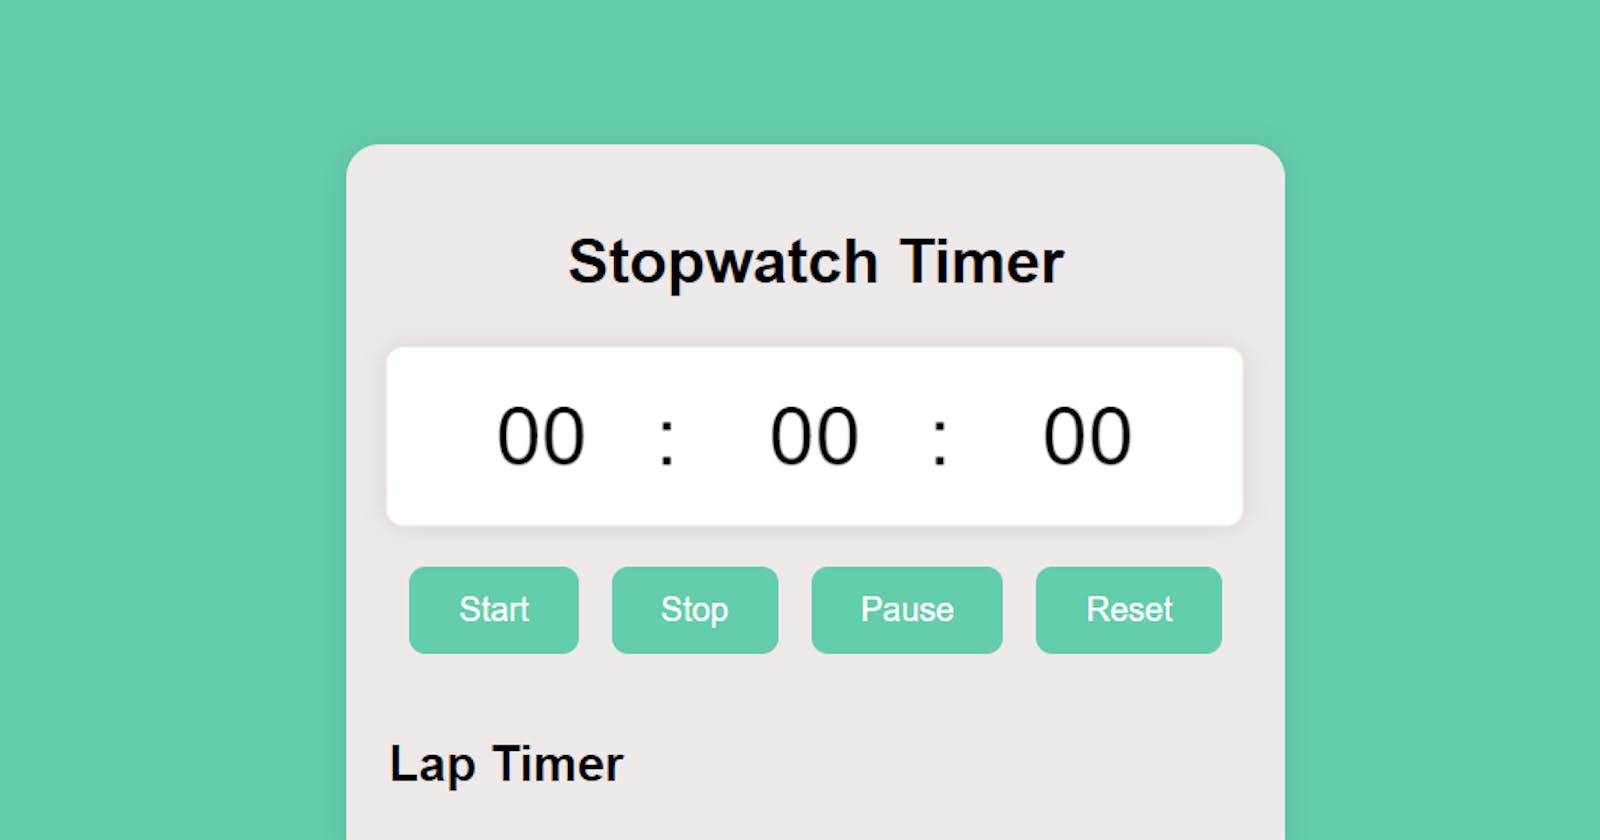
Hey there, coding enthusiast! Today, we're diving into the world of web development to create a sleek and functional stopwatch timer using HTML, CSS, and JavaScript. By the end of this guide, you'll have a fully functional stopwatch with start, stop, pause, and reset buttons, as well as the ability to record lap times. Excited? Let's get started!
Setting Up the HTML Structure
First things first, let's set up the HTML structure. Open your favorite code editor and create a new HTML file. You can name it index.html or something similar. Copy and paste the following code:
<!DOCTYPE html>
<html lang="en">
  <head>
    <meta charset="UTF-8" />
    <meta name="viewport" content="width=device-width, initial-scale=1.0" />
    <title>Stopwatch Timer Application</title>
    <link rel="stylesheet" href="stopwatch.css" />
  </head>
  <body>
    <div class="container">
      <h1 class="title">Stopwatch Timer</h1>
      <div class="stopwatch">
        <div class="timer">
          <span id="minutes">00</span>: <span id="seconds">00</span>:
          <span id="milliseconds">00</span>
        </div>
        <div class="contorls">
          <button id="startBtn">Start</button>
          <button id="stopBtn">Stop</button>
          <button id="pauseBtn">Pause</button>
          <button id="resetBtn">Reset</button>
        </div>
        <div class="laps">
          <h2 class="lap-title">Lap Timer</h2>
          <ul id="laplist"></ul>
        </div>
      </div>
    </div>

    <script src="stopwatch.js"></script>
  </body>
</html>
Here, we have a basic HTML structure with a title, a container, and the necessary elements for our stopwatch.
Styling with CSS
Now, let's make our stopwatch visually appealing. Create a new CSS file (e.g., stopwatch.css) and add the following styles:
body{
    background-color:#64cdac;
    display: flex;
    justify-content: center;
    align-items: center;
    min-height: 100vh;
    font-family: sans-serif;
}

.container{
    background-color: #eee9e9;
    border-radius: 16px;
    padding: 20px;
    box-shadow: 0 0 12px rgba(0, 0, 0, 0.1);
    display: flex;
    flex-direction: column;
    align-items: center;
}

.title{
    font-size: 30px;
    margin-bottom: 1.5rem;
}

.stopwatch{
    display: flex;
    flex-direction: column;
    align-items: center;
    gap: 20px;
}

.timer{
    font-size: 40px;
    background-color: #ffffff;
    padding: 20px;
    border-radius: 8px;
    box-shadow: 0 0 12px rgba(0, 0, 0, 0.1);
    animation: pulse 1.5s infinite alternate;
}

@keyframes pulse {
    from{
        transform: scale(1);
    }

    to{
        transform: scale(1.05);
    }
}

.timer span{
    width: 110px;
    display: inline-block;
    text-align: center;
}

.contorls{
    display: flex;
    gap: 1rem;
}

button{
    padding: 0.75rem 1.5rem;
    font-size: 1rem;
    background-color: #64cdac;
    color: #ffffff;
    border: none;
    border-radius: 8px;
    cursor: pointer;
    transition:   background-color 0.3s ease-in-out;
}

button:hover{
    background-color: #0c4b37;
}

.lap-title{
    font-size: 1.5rem;
}

.laps{
    width: 100%;
}

ul{
    list-style-type: none;
    padding: 0;
    margin: 0;
    overflow-y: auto;
    max-height: 200px;
    background-color: #ffffff;
    border-radius: 8px;
    box-shadow: 0 0 12px rgba(0, 0, 0, 0.1);
}

li{
    padding: 1rem;
    border-bottom: 1px solid #e0e0e0;
}

li:last-child{
    border-bottom: none;
}

li span{
    font-weight: 700;
}
These styles provide a clean and modern look to your stopwatch. Feel free to customize the colors and sizes to match your preference.
Adding Functionality with JavaScript
It's time to breathe life into our stopwatch using JavaScript. Create a new JavaScript file (e.g., stopwatch.js) and add the following code:
const minutesLabel = document.getElementById('minutes');
const secondsLabel = document.getElementById('seconds');
const millisecondsLabel = document.getElementById('milliseconds');

const startButton = document.getElementById('startBtn');
const stopButton = document.getElementById('stopBtn');
const pauseButton = document.getElementById('pauseBtn');
const resetButton = document.getElementById('resetBtn');

const lapList = document.getElementById('laplist');

let minutes = 0;
let seconds = 0;
let milliseconds = 0;
let interval;
This JavaScript code initializes variables and sets up event listeners for the buttons. Now, let's dive into the functionality of the stopwatch.
Implementing the Stopwatch Logic
startButton.addEventListener('click', startTimer);
stopButton.addEventListener('click', stopTimer);
pauseButton.addEventListener('click', pauseTimer);
resetButton.addEventListener('click', resetTimer);

function startTimer() {
  interval = setInterval(updateTimer, 1);
  startButton.disabled = true;
}

function stopTimer() {
  clearInterval(interval);
  addToLapList();
  resetTimerData();
  startButton.disabled = false;
}

function pauseTimer() {
  clearInterval(interval);
  startButton.disabled = false;
}

function resetTimer() {
  clearInterval(interval);
  resetTimerData();
  startButton.disabled = false;
}

function updateTimer() {
  milliseconds++;
  if (milliseconds === 100) {
    milliseconds = 0;
    seconds++;
    if (seconds === 60) {
      seconds = 0;
      minutes++;
    }
  }
  displayTimer();
}

function displayTimer() {
  millisecondsLabel.textContent = padTime(milliseconds);
  secondsLabel.textContent = padTime(seconds);
  minutesLabel.textContent = padTime(minutes);
}

function padTime(time) {
  return time.toString().padStart(2, '0');
}

function resetTimerData() {
  minutes = 0;
  seconds = 0;
  milliseconds = 0;
  displayTimer();
}

function addToLapList() {
  const lapTime = `${padTime(minutes)}:${padTime(seconds)}:${padTime(milliseconds)}`;

  const listItem = document.createElement('li');
  listItem.innerHTML = `<span>Lap ${lapList.childElementCount + 1}: </span>${lapTime}`;
  lapList.appendChild(listItem);
}
There you have it! This JavaScript code adds functionality to your buttons, updates the timer, and allows you to record lap times. Customize it further to suit your needs.
Conclusion
Congratulations, you've just built a stylish and functional stopwatch timer! Feel free to tweak the styles, add more features, or use it as a foundation for other exciting projects. Happy coding!
I hope you found this useful. I would like to hear from you so feel free to drop a comment or connect with me via Twitter. Here is my GitHub repository for the codes.
